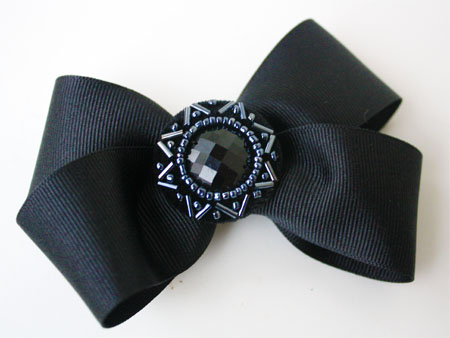
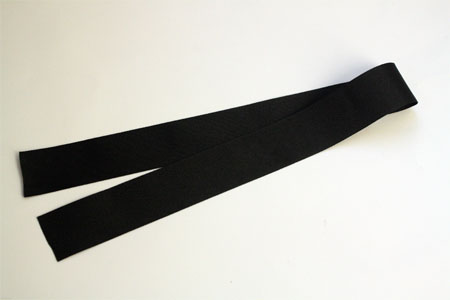
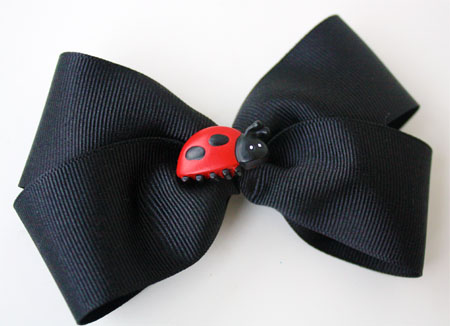
Supplies to make a hair bow
24 inches of 1.5 inch wide grosgrain ribbon to make a 4 1/2 inch wide bow or 18 inches of 1.5 inch grosgrain ribbon to make a 3 1/5 inch bow
6 inches of fine gauge floral wire
a hair clip
glue gun
scissors
How to make a hair bow
Fold the 24 inch (or 18 inch) piece of ribbon in half and crease with your thumb.
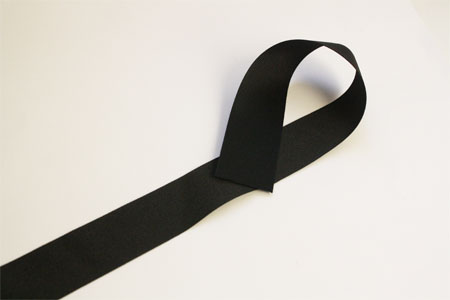
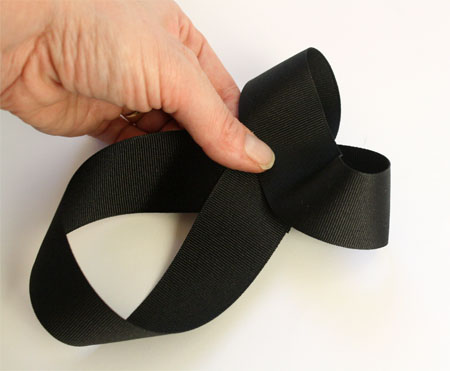
Lay ribbon out flat. Bring one edge of the ribbon to the center of the ribbon and lay on top of the crease to form a loop.
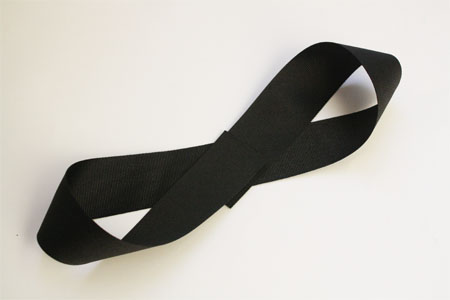
Repeat for the other side, creating a figure eight. Make sure ends of ribbon overlap about an inch.
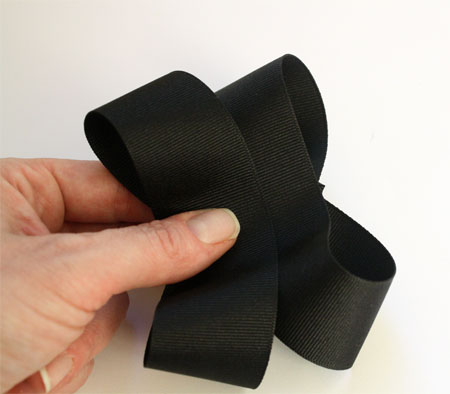
Bring the outside edge of the loop to the center. From this point on it works best to hold the ribbon in your hands.
Bring the loop on the other side to the center. Be sure to adjust the loops so they are even.
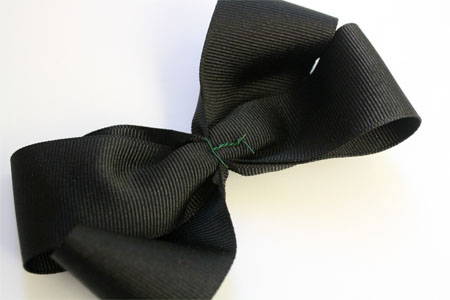
Pinch the center together by bending the outside edge down first and accordion fold the center together, ending by folding the opposite edge down. Keeping the fold tight will create a nicely shaped bow.
Tightly wrap a piece of floral wire around the center.
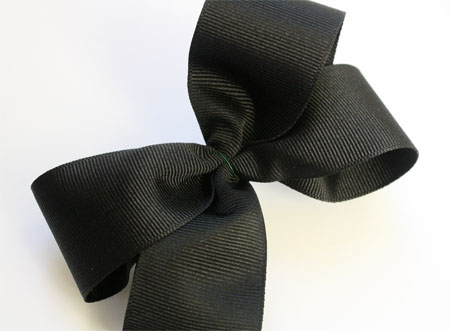
Twist securely in the back and trim edges.
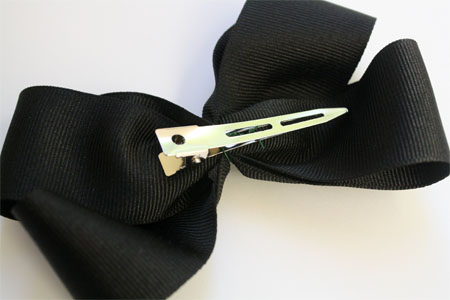
Slip the hair clip through the wire on the back of the bow. Make sure the wire is folded under so it doesn’t poke into the head.
Hot glue or sew a button on the center of the bow. Seasonal buttons, plastic gem and charms can be used. (Remember for young children to be cautious of items that could be a choking hazard)
From: http://www.skiptomylou.org/2011/11/03/hair-bow-tutorial/